How to enter the BIOS and what each item means
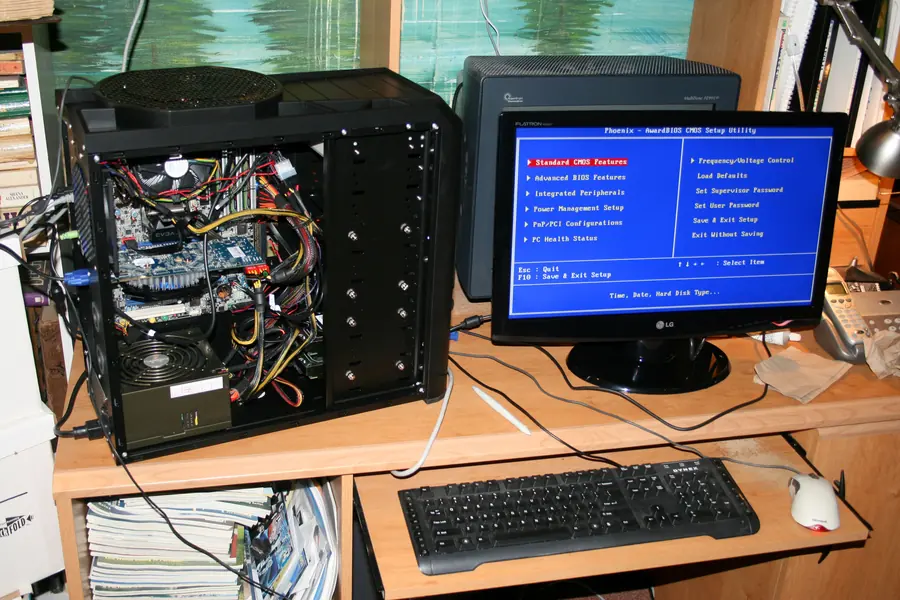
The BIOS (today UEFI) is the basic setup of a computer that most people never reach, but occasionally it is needed. The problem is that every manufacturer has a different key to enter, and the menu has a lot of items. Let us explain how to get into the BIOS and what the main settings mean. What the BIOS and UEFI are and when to update them is discussed in a separate article on what BIOS and UEFI are.
How to get into the BIOS
The BIOS opens right after turning on the computer, by repeatedly pressing a certain key, before the system starts loading. You need to press it as soon as the manufacturer’s logo appears. If you miss it and Windows starts, restart the computer and try again.
On modern Windows you can also get into UEFI through the system: Settings, Recovery, Advanced startup, where after a restart you choose to enter the firmware. This is useful when the startup is too fast to press a key.
Entry keys by manufacturer
The keys differ. These are the most common:
Motherboards (desktops)
| Motherboard maker | BIOS key |
|---|---|
| ASUS | Del (sometimes F2) |
| Gigabyte | Del |
| MSI | Del |
| ASRock | Del or F2 |
| Biostar | Del |
Laptops
| Laptop brand | BIOS key |
|---|---|
| Dell | F2 |
| HP | F10 (or Esc and then choose) |
| Lenovo | F2 or F1 (sometimes the Novo button) |
| Acer | F2 |
| ASUS | F2 (sometimes Del) |
| Samsung | F2 |
| MSI | Del |
If you are not sure, watch the text on the startup screen, it often says “Press X to enter Setup”.
Boot menu: a quick device choice
Sometimes you do not want the whole BIOS, just what the computer starts from (for example from USB during a system install). The boot menu serves this, opening with a different key, most often F12, F11, F9 or Esc. You choose the device and the computer starts from it just once, without a permanent change.
What the main items mean
The BIOS has many settings, but these are the most important:
- Date and time. The computer’s basic time, kept by the CMOS battery.
- Boot Order. What the computer starts from and in what order (disk, USB, network). Key during a system install.
- Boot Mode (UEFI / Legacy). Modern UEFI versus the older mode. Today UEFI is used.
- Secure Boot. Secure startup that only lets a trusted system run, more in the article on what Secure Boot is.
- Virtualization (VT-x, AMD-V, SVM). Enabling virtualization support, needed for virtual machines.
- SATA / Storage Mode (AHCI). The disk mode, important during a system install and for an SSD.
- Fan / Temperature. Control and monitoring of cooling and temperature.
- Wake-on-LAN. Turning the computer on over the network, more in the article on Wake-on-LAN.
- Load Defaults / Save and Exit. Restoring factory settings and saving changes on exit.
What to watch for
- Change only what you understand. A bad setting can cause the computer not to start.
- Changes need saving (Save and Exit), otherwise they do not take effect.
- In case of a problem, Load Defaults helps, returning safe settings.
Conclusion
You get into the BIOS right after turning on by pressing a key that differs by manufacturer (most often Del on boards and F2 on laptops). In the menu you find the boot order, time, Secure Boot, virtualization and more. Just change only what you know and save the changes.
Need help with BIOS setup, a system install or a computer that will not start? Get in touch, we will solve it safely.
Need help with IT?
We will take care of your computers, networks and security - for businesses and households in the Liptov region.
Contact us